
How To
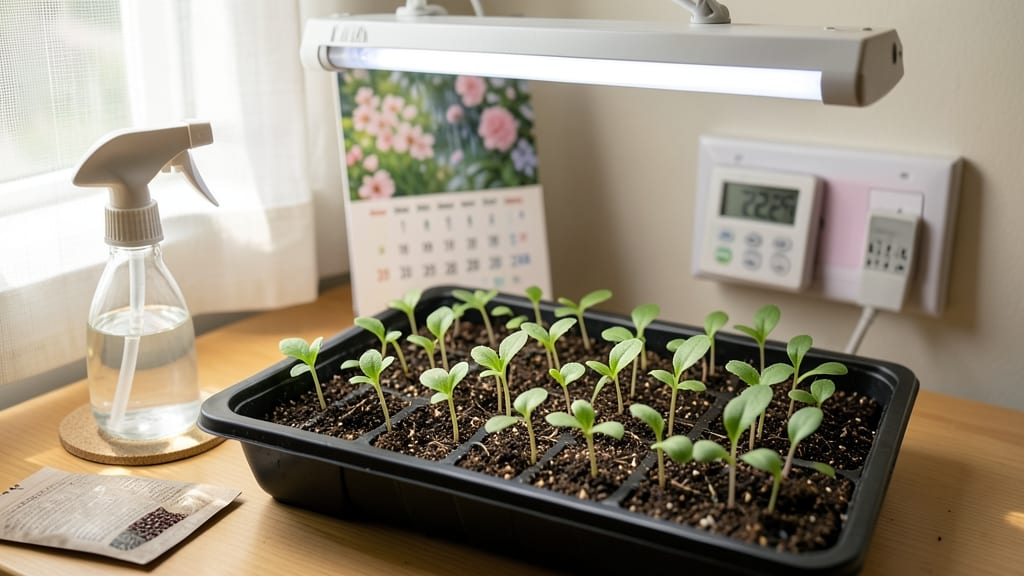
Start celosia seeds indoors 6-8 weeks before your last frost date 🌸 — that’s the window to fast, healthy growth without leggy seedlings or missed blooms.
Picture this: you’ve got tiny sprouts in late February, but by April, they’re ready to hit the garden just as the soil warms. Miss that timing, and you’ll either have overcrowded pots or late-season flowers that fade before summer’s end.
The key? Knowing your zone and adjusting the schedule so seedlings mature just as the weather cooperates.
For most gardeners in Zone 6a, that means starting seeds in mid-February to give them enough time to grow strong before transplanting in late April. But if you’re in a warmer region, you might push it to early March.
The goal is to avoid both overcrowded trays and seedlings that bolt too soon in the heat.
Below, I’ll walk you through the exact week-by-week timeline, plus pro tips for light, soil, and hardening off so your celosia thrives from seed to showstopping summer blooms.
Best indoor starting dates for celosia seeds by US hardiness Zone
Getting your celosia seeds off to the right start means timing your indoor sowing to match your USDA hardiness zone. These heat-loving annuals need 6-8 weeks indoors before transplanting, but your exact start date depends on when your last frost occurs.
Plant too early, and you’ll end up with leggy seedlings struggling in crowded pots. Too late, and you’ll miss the summer blooms you’re craving.
Celosia thrives in warm soil and air, so aim to transplant after your area’s average last frost date. Most gardeners in zones 3-11 can start seeds indoors between February and April, but the exact timing varies.
For example, gardeners in Zone 3 should begin much earlier than those in Zone 11, where frost is rare. Let’s break it down by zone to ensure your seedlings are ready for the garden at the perfect moment.
Pro Tip: Use a seed-starting heat mat to maintain soil temps between 70-80°F, which speeds up germination and prevents weak seedlings. Celosia seeds germinate best in warmth, and this small investment pays off with stronger plants.
For gardeners in Zone 3-4, where frosts linger into May, starting seeds in early March gives you enough time to grow sturdy seedlings before transplanting in late May. Use grow lights to supplement weak winter sunlight, as leggy seedlings are a common issue in these cooler climates.
In Zone 5-6, you can push your start date to late February, but be prepared to harden off seedlings gradually if late frosts threaten.
If you’re in Zone 7-8, you have more flexibility. Starting seeds in early March works well, but you can also direct sow outdoors after your last frost in early April. This saves space and reduces transplant shock.
For Zone 9-10, where winters are mild, you can start seeds as early as late January and enjoy a longer blooming season. In Zone 11, frost is rarely a concern, so you can start seeds anytime from January onward and transplant as early as February.
Remember, celosia seeds germinate best in warm soil (70-80°F), so avoid planting too early when your home’s indoor temps might drop. If your house stays cool at night, consider using a seedling heat mat or placing trays on top of your fridge to maintain consistent warmth.
This small adjustment can make the difference between weak, slow-growing seedlings and vigorous plants ready for the garden.
Once your seedlings have 4-6 true leaves and are about 3-4 inches tall, they’re ready for transplanting. Harden them off for 7-10 days before moving them outdoors to prevent shock.
Choose a sunny, well-draining spot in your garden, and your celosia will reward you with bold, vibrant blooms all summer long.
Don’t let the fear of timing mistakes hold you back—celosia is forgiving once established. Even if you miss the perfect window, you can always direct sow seeds outdoors after your last
Week-by-week growth stages: what to expect after germination
Once your celosia seeds have sprouted, the real magic begins—watching those tiny seedlings transform into vibrant, blooming plants. Each week brings new milestones, from delicate cotyledons to sturdy seedlings ready for transplanting. Understanding these stages helps you adjust light, temperature, and care to avoid leggy or weak plants.
During the first 2 weeks, your seedlings are most vulnerable. They’ll rely entirely on the warmth of your seed-starting mat or bottom heat to thrive. Keep soil moist but never soggy, as overwatering can drown these delicate sprouts.
This is also when you’ll notice their first true leaves emerging—thicker and more defined than the initial cotyledons.
- 1 Week 1-2: Cotyledons appear; maintain 75-80°F soil temp and bright indirect light. Avoid direct sun to prevent scorching.
- 2 Week 3-4: First true leaves emerge; introduce grow lights 12-14 hours/day if natural light is insufficient. Thin seedlings to 2 inches apart.
- 3 Week 5-6: Seedlings reach 3-4 inches tall; start hardening off by placing outside for 1-2 hours/day. Monitor for pests like aphids.
- 4 Week 7-8: Plants are 4-6 inches tall; transplant outdoors 2 weeks before last frost. Bury stems deeper to encourage root growth and reduce transplant shock.
By week 3, your seedlings should be showing their first true leaves, which look like miniature versions of the mature plant’s foliage. This is the perfect time to assess their health—strong stems and vibrant green leaves mean you’re on the right track.
If your seedlings look leggy or pale, they’re craving more light. Supplement with a grow light if your windows aren’t sunny enough.
As your celosia seedlings approach week 5, it’s time to start hardening off. This gradual acclimation to outdoor conditions prevents shock when transplanting.
Begin by placing them outside in a shaded, sheltered spot for just an hour or two, then slowly increase their time outdoors over the next week. Watch for signs of stress, like wilting or yellowing leaves, and adjust accordingly.
By week 7, your seedlings should be 4-6 inches tall and ready to transition to the garden. If you’ve been following the week-by-week schedule, they’ll have developed strong roots and sturdy stems.
Choose a sunny spot with well-draining soil, and plant them slightly deeper than they were in their pots to encourage additional root growth. Water thoroughly after transplanting to help them settle in.
With proper care, your celosia seedlings will reward you with vibrant blooms by early summer. The key to success lies in attentive monitoring during these critical first 8 weeks. Pay attention to their cues—whether it’s stretching toward the light or developing robust stems—and adjust your care routine accordingly.
Soon, you’ll be enjoying a garden bursting with color from your homegrown celosia! 🌸