
Fertilization
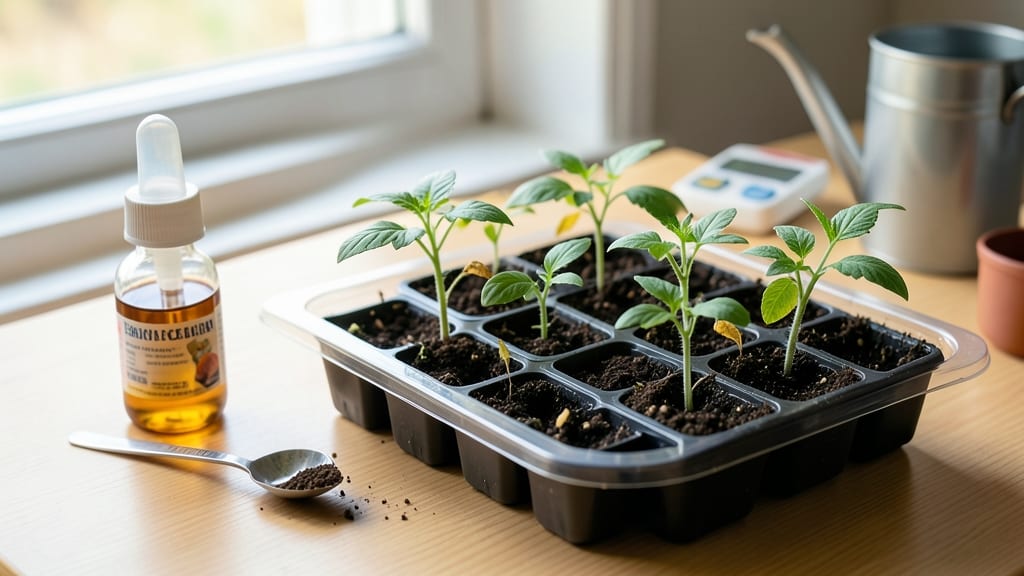
Fertilizing seedlings indoors at the right time—starting just after true leaves appear—gives them the nutrients they need without burning delicate roots.
Struggling with leggy seedlings or stunted growth? Timing your indoor seedling fertilization perfectly can mean the difference between thriving plants and wasted effort—here’s the science-backed schedule you need.
Most gardeners wait too long, missing the critical window when seedlings shift from relying on seed reserves to needing outside nutrients. A light, diluted feed at the right stage builds strong roots and compact stems.
Below, I break down the exact week-by-week schedule, signs your seedlings are ready, and the one common mistake that stunts growth faster than anything else.

The exact week-by-week fertilizer schedule for indoor seedlings
Getting your indoor seedlings off to the right start means paying close attention to their nutrient needs—especially when to fertilize. Unlike mature plants, seedlings are delicate and need a gentle approach to avoid burning their tender roots.
The key is timing: fertilize too early and you risk stunting growth, too late and your plants may struggle to develop strong roots. Here’s the science-backed schedule we’ve perfected over years of growing everything from tomatoes to herbs indoors.
Most gardeners make the mistake of fertilizing right after sowing or waiting until the seedlings look "ready." But the truth is, the first 2-3 weeks are critical for root establishment, and fertilizing too soon can actually harm your seedlings.
Instead, think of fertilization as a three-phase process: pre-germination (no fertilizer), germination (light feed), and early development (balanced nutrition). Let’s break it down week by week so you can give your seedlings the perfect boost at the right time.
| Week | Seedling Stage | Fertilizer Action | Notes |
|---|---|---|---|
| Week 0-1 | Pre-Germination | None | Soil should be moist but not soggy. Avoid fertilizing until seeds sprout. |
| Week 2 | Germination (Sprouts Appear) | Light Feed (¼-strength) | Use a balanced fertilizer (5-10-5) diluted to ¼ strength. Focus on phosphorus for root growth. |
| Week 3-4 | Early Growth (True Leaves) | Full Feed (½-strength) | Switch to ½-strength fertilizer. Look for dark green leaves and sturdy stems. |
| Week 5-6 | Established Roots | Full Feed (Full Strength) | Use full-strength fertilizer every 2 weeks. Monitor for yellowing leaves (over-fertilization). |
| Week 7-8+ | Pre-Transplant | Light Feed (½-strength) | Reduce to ½-strength 1 week before transplanting to harden off seedlings. |
At week 0-1, your seeds are just waking up, and fertilizing now is like giving a newborn baby a double espresso—it’s just too much too soon. During this phase, focus on keeping the soil consistently moist (not soggy) and maintaining warm temperatures (around 70°F).
The goal is to create the perfect environment for germination without any distractions. If you’re using sterile seed-starting mix, it likely has no nutrients, so hold off until you see those first tiny sprouts breaking through the soil.
By week 2, your seedlings have sprouted, and that’s your cue to introduce a light feed. This is where many gardeners trip up—using full-strength fertilizer can burn delicate roots and stunt growth. Instead, opt for a balanced fertilizer like 5-10-5, diluted to ¼ strength.
The extra phosphorus in this ratio helps roots develop, which is critical for seedlings that will soon need to support themselves and eventually be transplanted outdoors. Think of this as their first nutrient snack, not a full meal.
When you hit week 3-4 and see those true leaves (the second set of leaves that look like the mature plant’s foliage), it’s time to step up the nutrition. True leaves are a sign your seedlings are ready for more robust growth, so switch to a ½-strength fertilizer.
This is where you’ll notice a difference in their sturdiness and color. If your seedlings are looking leggy (tall and weak), it’s often a sign they need more light, not more fertilizer. But if they’re small and pale, a light feed can help them bulk up.
By week 5-6, your seedlings should be showing signs of established roots and more vigorous growth. This is when you can introduce full-strength fertilizer, but with caution. Apply it every 2 weeks and always water it in well to avoid salt buildup in the soil.
Keep an eye out for yellowing leaves or crispy edges, which are red flags that you’ve overdone it. At this stage, your seedlings are like teenagers—hungry but still growing rapidly, so balance is key.
As you approach week 7-8, your seedlings are nearing transplant size, and their nutrient needs shift again. Reduce the fertilizer strength back to ½-strength about a week before you plan to move them outdoors.
This hardening-off process helps them adjust to their new environment without the shock of too many nutrients. Think of it like tapering off caffeine before a big event—you want them calm and ready for the next phase of their life.
Pro tip: Always fertilize in the morning so the nutrients have time to absorb before the heat of the day. And if you’re using organic fertilizers like fish emulsion or compost tea, remember they break down more slowly, so you might need to apply them more frequently.
The goal is to give your seedlings just enough nutrition to thrive without overwhelming them—like Goldilocks, you want it just right.
🌱
Signs your indoor seedlings need fertilizer (and when to wait)
Watching your indoor seedlings sprout is exciting, but knowing when to fertilize can feel like guessing. Too early, and you risk burning delicate roots; too late, and your plants grow weak and leggy.
The key is spotting visual cues that show your seedlings are ready for nutrients—but not before. Here’s how to tell when it’s time to feed (or wait).
First, focus on leaf color. Healthy seedlings start with vibrant green leaves, but if they turn yellow or pale, it’s often a sign of nutrient deficiency. However, dark green leaves with purple stems can mean phosphorus hunger—another cue to fertilize.
Wait until you see true leaves (not the first seed leaves) before applying anything stronger than water.
Next, check growth rate. If your seedlings are stretching tall and thin (a classic sign of etiolation), they’re likely starving for nutrients. But if they’re growing slowly with small leaves, they may not need fertilizer yet—they’re just conserving energy while establishing roots.
A good rule: Wait until seedlings have 2-3 sets of true leaves before fertilizing.
🌱 Root development is another critical clue. Gently check roots by removing a seedling from its pot (if it’s small). If roots are white, dense, and filling the root zone, your seedlings are ready for a light fertilizer dose.
But if roots are sparse or brown, they’re stressed—wait and focus on water and light first.
⚠️ Warning: Common Fertilizer Mistakes
- Over-fertilizing: Too much fertilizer burns roots and causes leaf tip browning. Always use half-strength solutions for seedlings.
- Fertilizing too early: Seedlings rely on seed reserves first. Wait until true leaves appear (not seed leaves).
- Skipping watering after fertilizing: Fertilizer salts can build up in soil if not flushed out. Always water thoroughly after applying.
Pro Tip: Start with a balanced 5-10-5 fertilizer and avoid high-nitrogen blends until seedlings are established.
Timing matters just as much as what you use. If your seedlings are 3-4 weeks old and showing healthy true leaves, it’s safe to introduce a diluted fertilizer.
But if they’re younger than 2 weeks, stick to water and light—their energy should come from the seed itself. For fast-growing plants like lettuce or herbs, you might fertilize every 2 weeks; for slow growers like tomatoes, wait until they’re 4-6 weeks old.
Don’t ignore soil texture either. If the soil looks crusty or dry on top, it may be salty from old fertilizer, signaling you’ve overdone it. Flush the soil with water and hold off on fertilizing until the soil feels light and crumbly again.
And remember: Less is more with seedlings—you can always add fertilizer later, but you can’t undo root damage.
When in doubt, wait one more week. Seedlings are resilient, and a little patience goes a long way. Once you’ve spotted 2-3 true leaves, white roots, and steady growth, it’s time to introduce a gentle fertilizer.
Start with a quarter-strength dose, monitor for leaf discoloration, and adjust as needed. Your seedlings will thank you with stronger stems and healthier leaves—ready for transplanting in no time! 🌿