
Orchid Care
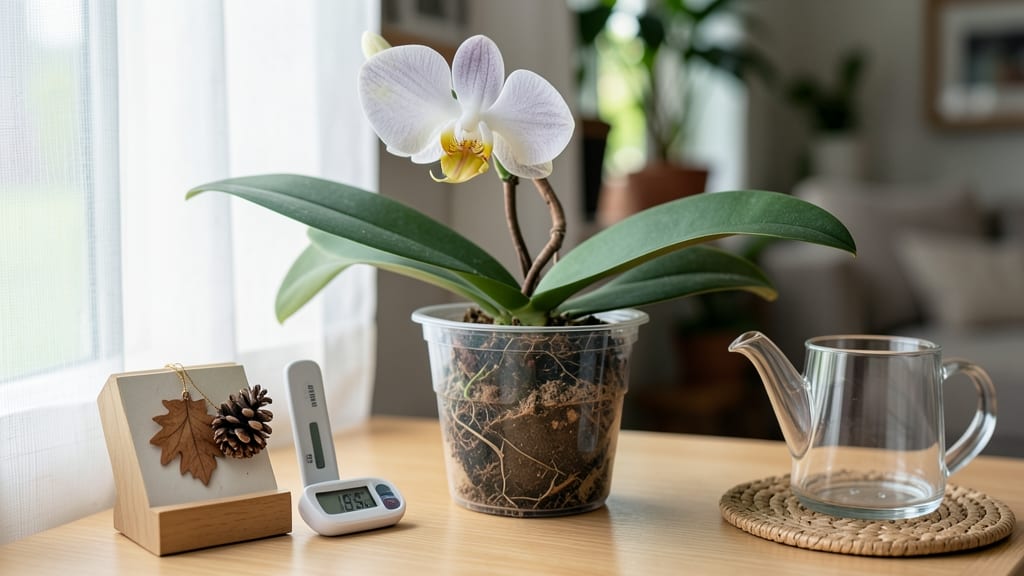
Indoor orchids go dormant in late fall or winter, when growth slows and energy shifts underground 🌸 — a survival trick many growers mistake for neglect.
Your orchid’s sudden silence—dropped leaves, skipped blooms, or curled roots—might signal dormancy, a natural survival mode that’s often misunderstood by growers. If you’ve ever panicked over yellowing leaves or stunted growth, you’re not alone. This pause isn’t a problem; it’s the plant’s way of conserving energy for spring.
Recognizing dormancy early is the key to keeping your orchid healthy. Look for slowed growth, shriveled pseudobulbs, or leaves that turn yellow and crisp at the edges. These signs mean it’s time to adjust care—less water, no fertilizer, and a cooler spot can make all the difference.
In this guide, I’ll walk you through the signs of dormancy, how to tell it apart from stress, and the simple care tweaks that keep your orchid thriving through its rest period—and ready to bloom again when spring arrives.
How to identify when indoor orchids enter dormancy season
Indoor orchids like Phalaenopsis or Cattleya often slow down in late fall or winter, but this isn’t always dormancy—it could be stress. The key is spotting three reliable signs: leaf yellowing, root shrinkage, and growth cessation.
Unlike active growth phases, dormant orchids conserve energy, making their behavior distinctly different. Let’s break down how to tell the difference between natural dormancy and trouble.
First, observe your orchid’s leaves. Healthy leaves stay firm and green, but during dormancy, you’ll notice yellowing at the tips or along the edges.
This isn’t the same as nutrient burn—it’s a gradual, uniform color shift. Phalaenopsis orchids, for example, may develop a duller hue as they prepare to rest, while Cattleya varieties might drop older leaves entirely to focus energy on new growth later.
Next, check the roots. Active orchid roots are plump and silver-green, but dormant roots shrink and turn grayish. Gently remove your orchid from its pot (if it’s in a clear container, you can skip this step) and inspect the roots.
If they feel wrinkled or hollow, your plant is likely entering dormancy. This shrinkage is a survival tactic—roots store less water to endure the dormant period.
Finally, monitor growth patterns. Dormant orchids stop producing new leaves or flower spikes. If your orchid’s pseudobulbs (thickened stems in species like Cattleya) feel soft or deflated, it’s a clear sign of dormancy.
Even Phalaenopsis, which don’t have pseudobulbs, will show slowed growth. Without new shoots or blooms, your orchid is conserving energy for the next growing season.
| Orchid Type | Dormancy Season | Key Signs | Care Adjustment |
|---|---|---|---|
| Phalaenopsis | Late fall to early spring | Leaf yellowing, slowed growth, no new spikes | Reduce watering, skip fertilizer |
| Cattleya | Summer (dry season) | Pseudobulb shriveling, leaf drop, root shrinkage | Minimal water, no fertilizer, cooler temps |
| Cymbidium | Late fall to winter | Leaf yellowing, growth halt, thickened stems | Dry soil, cool temps, no fertilizer |
| Dendrobium | Winter (cool season) | Canes turn brown, no new growth, root dormancy | Dry out completely, store in cool spot |
Timing varies by species and climate. Phalaenopsis orchids, for instance, often enter dormancy in late fall (October-November) and stay dormant until early spring.
Meanwhile, Cattleya orchids, native to tropical regions, may dormancy during the dry season, which could be summer in some areas. Cymbidium orchids, however, typically rest in late fall to winter, mimicking their natural alpine environment.
One common mistake is confusing dormancy with root rot or nutrient deficiency. If your orchid’s roots smell foul or the potting mix stays soggy, it’s not dormancy—it’s a problem.
Dormant orchids should have dry-ish potting mix between waterings, not wet conditions. Always check the roots and mix before assuming dormancy. If in doubt, wait a week and reassess.
Light exposure also changes during dormancy. While active orchids thrive on bright indirect light, dormant ones need slightly less intensity. Move your orchid to a shadier spot (like a north-facing window) if you notice leaves turning pale or crispy.
This adjustment mimics the reduced sunlight of their natural dormant season, preventing stress.
Temperature plays a subtle but critical role. Most indoor orchids prefer 60–75°F during active growth, but dormancy often requires a cooler environment. Cattleya orchids, for example, may need temps as low as 50–60°F to trigger dormancy.
If your home stays warm year-round, consider placing dormant orchids near a cool window or using a small fan to create airflow.
Finally, don’t panic if your orchid looks “dead” during dormancy. Some varieties, like Dendrobium, drop all their leaves and rely entirely on stored energy in their canes or pseudobulbs.
As long as the roots remain viable (firm and greenish-gray), your orchid is simply conserving energy. Patience is key—regrowth will return when conditions improve, typically with warmer temps or increased light.
🌿
Adjusting care routines for dormant indoor orchids: what to stop and what to continue
When your indoor orchid enters dormancy, it’s not time to panic—it’s a natural survival strategy. During this phase, your plant slows growth to conserve energy, often triggered by cooler temperatures or reduced light.
The key is adjusting care routines to match these needs without causing stress. Start by reducing watering frequency—dormant orchids need far less moisture than active plants.
Most growers mistakenly keep fertilizing during dormancy, which can lead to root burn or fungal issues. Instead, pause all fertilizer applications until you see new growth sprout.
This pause mimics the plant’s natural cycle and prevents unnecessary stress. Even humidity levels should be adjusted slightly lower to support this resting phase.
Dormancy Care Adjustments for Indoor Orchids
- Water every 3-4 weeks (check soil moisture first)
- Place in cooler spot (60-65°F ideal)
- Reduce humidity slightly (50-60% range)
- Prune dead growth (clean up spent spikes)
- Overwater (soggy roots cause rot)
- Fertilize (pause until regrowth starts)
- Move suddenly (stress triggers early waking)
- Ignore signs of stress (yellowing may signal disease)
🌱 Pro Tip: Use a moisture meter to avoid guesswork with watering.
Light requirements actually increase slightly during dormancy—your orchid needs bright indirect light (12-14 hours daily) to maintain energy reserves. Move it closer to an east-facing window if growth stalls, but avoid direct sun that can scorch leaves. Monitor for leaf curling, which may indicate light stress or dehydration.
One common mistake is assuming dormancy means complete neglect. While you’ll water less, never let the potting mix dry out completely—roots need minimal moisture to stay alive. Stick your finger 1 inch into the mix; if it’s bone-dry, give a light watering (just enough to moisten).
Look for new root tips or leaf buds in late winter as signs your orchid is ready to wake. At this point, resume normal care: increase watering to weekly, reintroduce fertilizer (¼ strength), and gradually return to higher humidity. This gradual transition prevents shock and encourages vibrant blooming.
Remember, dormancy isn’t one-size-fits-all. Phalaenopsis orchids may rest lightly in winter, while Cattleyas need a cooler, drier period. Observe your plant’s unique signals—dropped leaves or shriveled pseudobulbs are normal, but mushy roots or black spots mean action is needed. 🌸