
Container Gardens
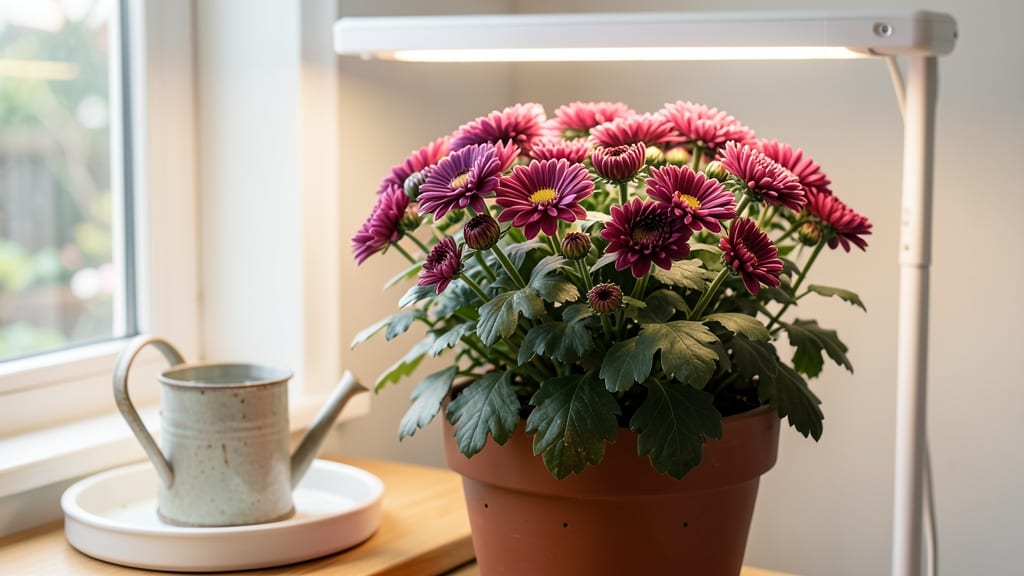
The overwintering mums indoors can bloom again next spring with just three simple trims—no fancy equipment or green thumb required. 🌸 I’ve overwintered mums for years, and the secret isn’t complicated: timing, light, and a little patience.
Most people assume these plants die after frost, but with the right care, they’ll reward you with vibrant color for seasons to come.
The process starts in late fall with a hard cutback—trim stems to 3-4 inches tall and repot if roots are crowded. Place them in a cool, bright spot (50-60°F) and water sparingly, letting the soil dry between waterings.
This mimics their natural dormancy, preventing rot and pests. By spring, you’ll see fresh growth signaling it’s time to bring them back into full bloom.
Come spring, two more strategic trims encourage bushier growth and bigger flowers. Pinch back tips in early spring, then again after blooming to shape the plant.
With consistent light (6+ hours daily) and balanced watering, your mums will thrive indoors—no greenhouse needed. The payoff? Year-round color that rivals fresh spring blooms.
Works for any variety, from fluffy pom-poms to classic dinnerplate mums. Even if you’ve lost plants before, this method is foolproof—just follow the three trims and watch them bounce back. Ready to bring your mums back to life?
📚 In This Guide
- What you need
- Instructions
- Tips and common mistakes
- Wrapping up and next steps
What you need
- ● Chrysanthemum plants (mums): Healthy, disease-free plants (1-3 per container, depending on size).
- ● Containers: Well-draining pots (5-7 inches deep) with drainage holes. Use one pot per plant to prevent overcrowding.
- ● Potting mix: High-quality, well-draining soil blend (e.g., 60% peat/coir, 30% perlite, 10% compost). 1 gallon per plant.
- ● Pruning shears: Sharp, clean shears (sterilize with rubbing alcohol).
- ● Fertilizer: Balanced, slow-release fertilizer (10-10-10 or similar) or liquid fertilizer (diluted to half-strength).
- ● Watering can or spray bottle: For gentle hydration (avoid soggy soil!).
- ● Grow lights or sunny windowsill: South-facing window or LED grow lights (12-16 hours/day).
- ○ Humidity tray or pebble tray: Optional but helpful for dry indoor air.
- ● Rooting hormone: To encourage faster regrowth if taking cuttings.
- ● Thermometer/hygrometer: Monitor temperature (60-65°F) and humidity (50-60%).
- ● Insecticidal soap: Preemptive treatment for pests like spider mites.
- ● Mulch (light layer): Retains moisture (e.g., pine bark fines).
Step-by-Step instructions for overwintering mums indoors
Here's how to keep your mums blooming year after year with minimal effort.
🌿 Step 1: Time Your First Trim for Late Fall
Wait until after your mums finish blooming in fall—typically 6-8 weeks before your first frost. This ensures the plant has stored enough energy in its roots to survive dormancy. Look for browned flower heads and slightly wilted foliage as your signal. Using clean, sharp pruners, cut back the entire plant to about 3-4 inches above the soil line.
Remove any remaining flower stems and dead leaves, but leave the green growth intact. This trim encourages the plant to focus its energy on root development rather than maintaining foliage. I like to do this on a dry, sunny afternoon when the plants are actively photosynthesizing—it helps them recover faster.
✂️ Step 2: Prepare for Dormancy with a Second Trim
About 2-3 weeks before moving indoors, give your mums a light haircut. Snip off any remaining leaves or stems that look tired or yellowed, but don't cut into the woody stems. This reduces the amount of plant material you're bringing inside, which minimizes pest and disease risks during dormancy.
Water the plants deeply 3-4 days before moving them to ensure they're hydrated but not soggy. You'll know they're ready when the soil feels slightly damp but not heavy. Avoid fertilizing at this stage—you want the plant to slow down, not keep growing.
🪴 Step 3: Transition Indoors Gradually
Move your mums indoors to a cool, bright location with temperatures between 35-45°F. A garage, basement, or unheated sunroom works perfectly. Place them in a spot with indirect light—direct sunlight can stress the plants after their outdoor acclimation. Water sparingly, only when the top 1-2 inches of soil feel dry.
Over the first 2 weeks indoors, monitor for signs of stress like wilting or leaf drop. If you notice any, adjust the light or reduce watering. I've found that placing them near a north-facing window with supplemental grow lights (if needed) keeps them stable. Avoid warm indoor spaces—they'll wake up too early and exhaust their energy reserves.
⏰ Step 4: Maintain Dormancy Through Winter
During winter, keep your mums in dormancy by limiting water to once every 3-4 weeks. The goal is to keep the roots just barely alive without encouraging new growth. Check soil moisture by sticking your finger in—it should feel dry but not bone-dry.
In late winter (around 6-8 weeks before your last frost), you'll see new green shoots emerging. This is your cue to start preparing them for outdoor planting. Gradually increase watering and move them to a brighter spot indoors to encourage robust growth before transplanting.
Tips & tricks for perfect overwintering mums
These simple strategies will help your mums thrive through winter and bloom beautifully next season.
Timing is Everything: The 6-8 week window before your first frost is critical for the first trim in Step 1. I've found that checking your local frost date and counting backward helps avoid rushing this step. If you miss it, don't panic—just wait until the plants show natural signs of dormancy like browned blooms and wilting leaves. The key is ensuring the plant has stored enough energy in its roots before dormancy begins.
Pruning Precision: When cutting back to 3-4 inches in Step 1, make clean cuts just above a leaf node or bud. This encourages new growth in spring. I use sterilized pruners to prevent disease transmission, especially important when you're dealing with multiple plants. Avoid leaving stubs—they can harbor pests during dormancy. For large clumps, you can divide them at this stage too, but only if the roots are actively growing.
Light and Temperature Balance: The 35-45°F range in Step 3 is ideal for dormancy, but light is just as important. I've had success placing mums near north-facing windows with supplemental LED grow lights on a timer (12 hours on/off) when natural light is insufficient. Too much light can stress the plants, while too little causes leaf drop. A basement with indirect light works well if you can maintain the temperature range consistently.
Watering Wisdom: The once-every-3-4-weeks watering schedule in Step 4 might seem extreme, but it's essential. I test soil moisture by sticking my finger about 1 inch deep—if it's completely dry, it's time to water lightly. Overwatering is the #1 cause of root rot during dormancy. A well-draining pot with drainage holes is crucial if you're overwintering container-grown mums.
Pro Tips for Overwintering Mums Indoors
- These simple strategies will help your mums thrive through winter and bloom beautifully next season.
- Timing is Everything: The 6-8 week window before your first frost is critical for the first trim in Step 1. I've foun...
- Pruning Precision: When cutting back to 3-4 inches in Step 1, make clean cuts just above a leaf node or bud. This enc...
Frequently asked questions
Got questions about keeping your mums thriving indoors? Here are answers to the most common ones—so you can enjoy their cheerful blooms all year!
When is the best time to bring mums indoors for overwintering?
Move them indoors before the first frost, typically in early fall (late September to October). Look for signs like wilted leaves or brown buds—these signal it’s time to act! If left too long, they may suffer cold damage. A quick trim (just above a leaf node) helps them focus on survival, not blooming.
Can I overwinter mums in a garage or basement instead of a sunny window?
Yes, but with caveats! These spaces are often too dark (6+ hours of light is ideal) and may lack humidity. If you must, place them near a bright window or under grow lights. Avoid drafty areas—consistent temps (50–60°F) and moderate moisture are key. A humidity tray (pebbles + water) can help prevent dryness.
My mum’s leaves are turning yellow or dropping—what’s wrong?
Yellowing leaves usually mean overwatering or low light. Let the top inch of soil dry out between waterings, and avoid soggy pots. If leaves drop suddenly, it could also signal shock from moving indoors or pests (like spider mites). Isolate the plant, wipe leaves with soapy water, and check soil for critters.
Do I need to fertilize mums while they’re indoors?
Lightly! Use a balanced, water-soluble fertilizer (like 10-10-10) every 6–8 weeks in winter. Skip heavy feeding—they’re dormant, not blooming. In early spring, switch to a higher-phosphorus fertilizer (e.g., 5-10-5) to encourage bud formation. Pro tip: Flush the soil with water after fertilizing to prevent salt buildup!
Will my mum bloom again next year if I overwinter it?
With proper care—light, water, and a mid-winter trim—your mum can bloom year after year. The key is patience: Focus on root and leaf health in winter, then transition to outdoor pots in spring. Some varieties (like ‘Autumn Joy’) may need a cold snap to trigger blooms, so harden them off gradually in late spring.
Still stumped? Drop your question in the comments—we’re happy to help your mums thrive!
Wrapping up and next steps
Overwintering mums indoors is totally doable with the right prep—and you’ve got this! 🌟 By trimming your plants, providing bright light, and keeping them cozy, you’ll wake up to vibrant blooms come spring. Now’s the time to act: grab your shears, follow the steps, and enjoy year-round color without the fuss.
Ready to transform your space? Start your overwintering journey today—your future blooms will thank you! 🌸